These mini chocolate tarts or tartlets are eggless, no-bake desserts, effortless, and are the perfect sweet treats for parties, anniversaries or any special occasion.
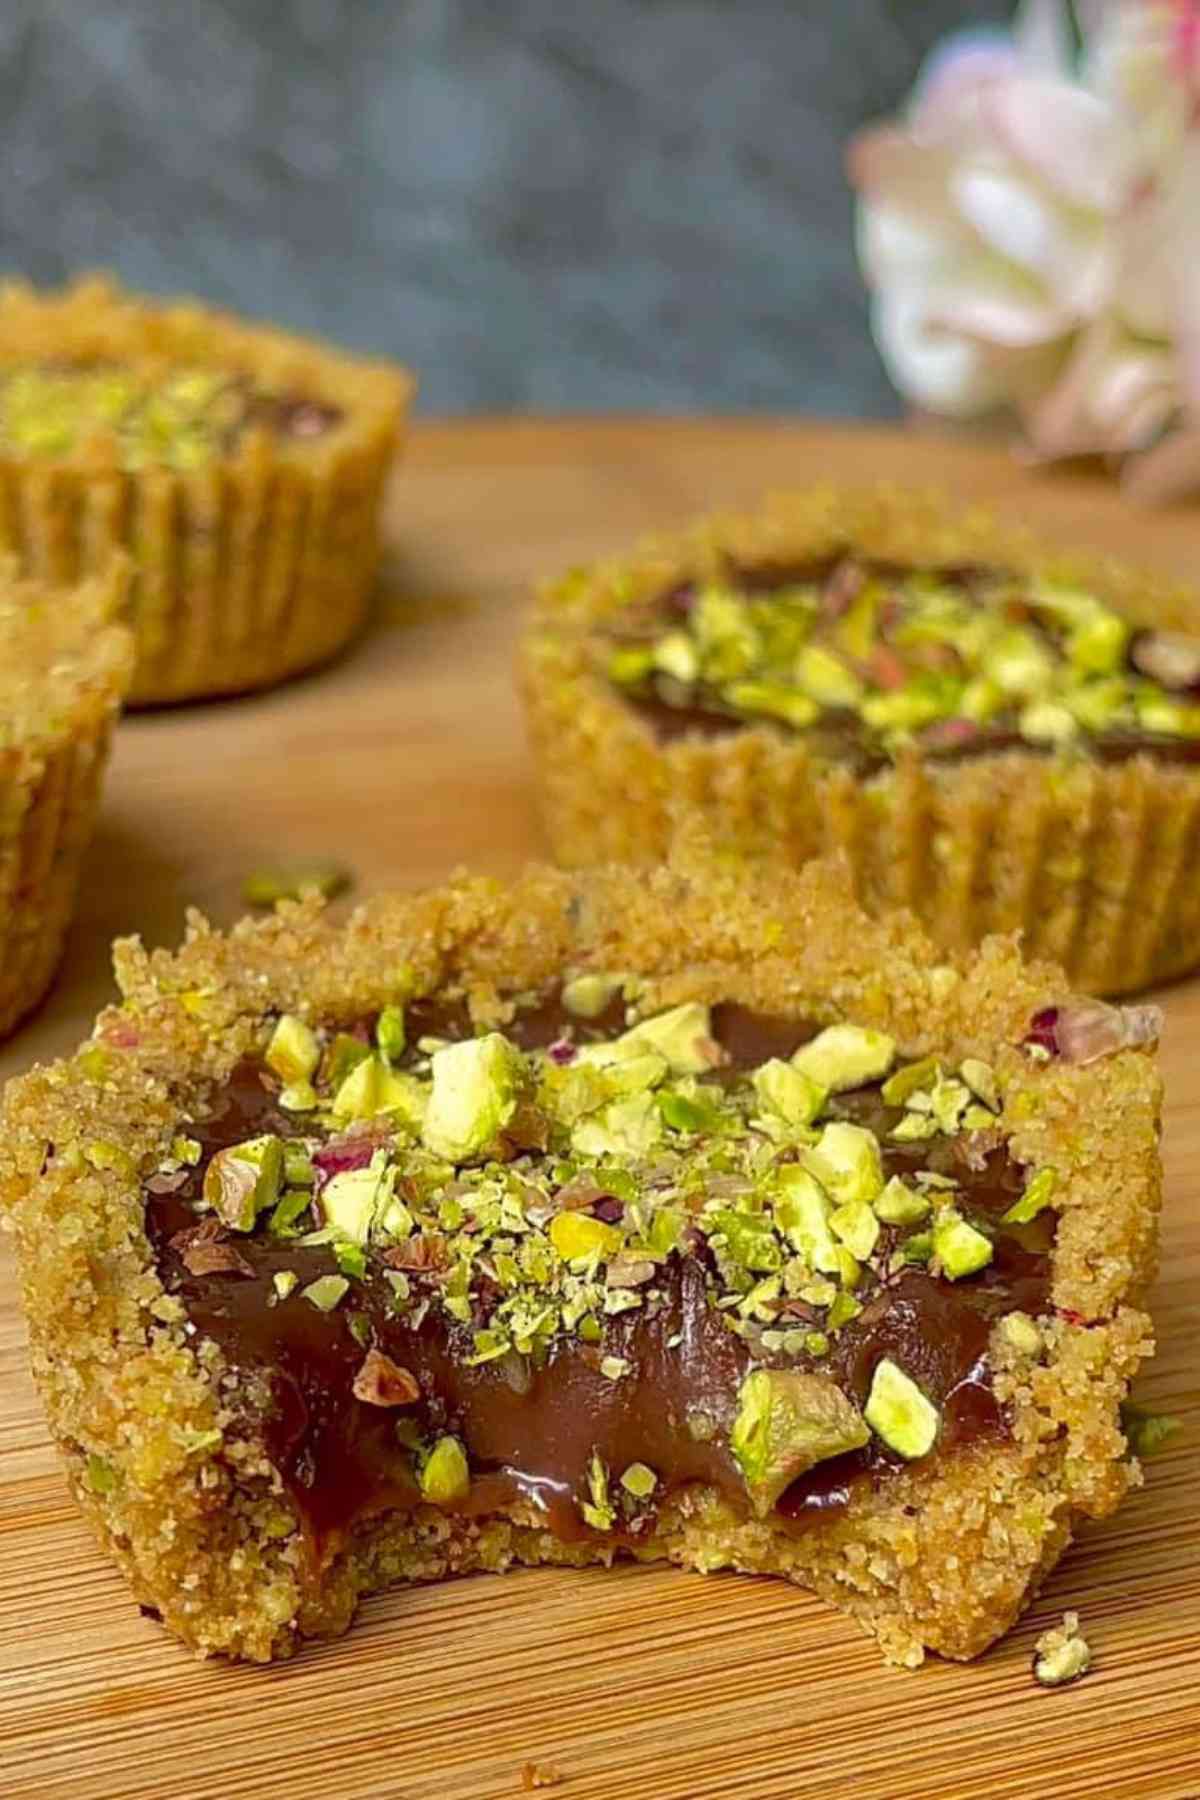
Treat yourself to our No-Bake Chocolate Mini Tarts! A buttery caramel cookie crust holds a layer of smooth chocolate ganache. No oven needed! Just mix, chill, and enjoy this delicious dessert. This simple yet exquisite dessert will satisfy your sweet cravings.
If your tart-making adventure has left you craving more, let’s dive into other delightful desserts that deserve a spot on your baking list.
Imagine whipping up a super juicy apple bake where the fruit is the star, not just a sidekick—it's basically a cosy hug in cake form. Or maybe a fluffy yoghurt cheesecake hybrid that's light as air, flourless, and shockingly simple to make. It’s the kind of dessert that says, “Yes, I’m fancy, but I didn’t try too hard.”
For a quick win, try a lemon pound cake with a single egg—minimal ingredients, maximum zing. And for cherry lovers, there’s a layered cherry sponge dessert that’s rich, soft, and practically demands a second helping.
Finally, if you’re feeling adventurous, the crispy phyllo and creamy ricotta bake is a showstopper. It’s got crunch, it’s got creaminess, and it’s the kind of dessert people will talk about long after the plates are cleared.
Which one will you try next? They’re all easy, delicious, and guaranteed to make any occasion sweeter!
Chocolate Mini Tartlets
Got a dessert craving and a stash of leftover biscuits no one wants? Say hello to these Easy Mini Tarts, your new go-to sweet treat! These bite-sized wonders are ridiculously simple to make and perfect for satisfying those midweek dessert emergencies—or impressing kids who’ll insist you’re a kitchen genius. Plus, they’re no-bake, so no oven gymnastics required.
The best part? You’re basically upcycling snacks. Stale cookies and that last bit of chocolate nobody touched after Halloween now have a glamorous second life. The crunchy cookie crust meets a silky chocolate ganache, creating a dessert so good someone might “accidentally” snag a second one. Trust me, these are a hit at parties, but they’re just as fun to make at home. Crushing cookies and whisking ganache? It’s like edible therapy—minus the cleanup stress. So, whip up these mini tarts, and you’ll wonder why you ever let dessert cravings go unmet!
Why You’ll Love This Recipe
- No baking is needed, which means less fuss.
- The ingredient list is simple, with no fancy tools required.
- Perfect for any occasion, from casual dinners to parties.
- Customizable with your favourite toppings or chocolate types.
Expert Tip for Perfect Tarts
Always press the crust firmly into the pan—this keeps everything in place when you add the filling. Use the back of a spoon or your hands to really pack it down.
What You’ll Need
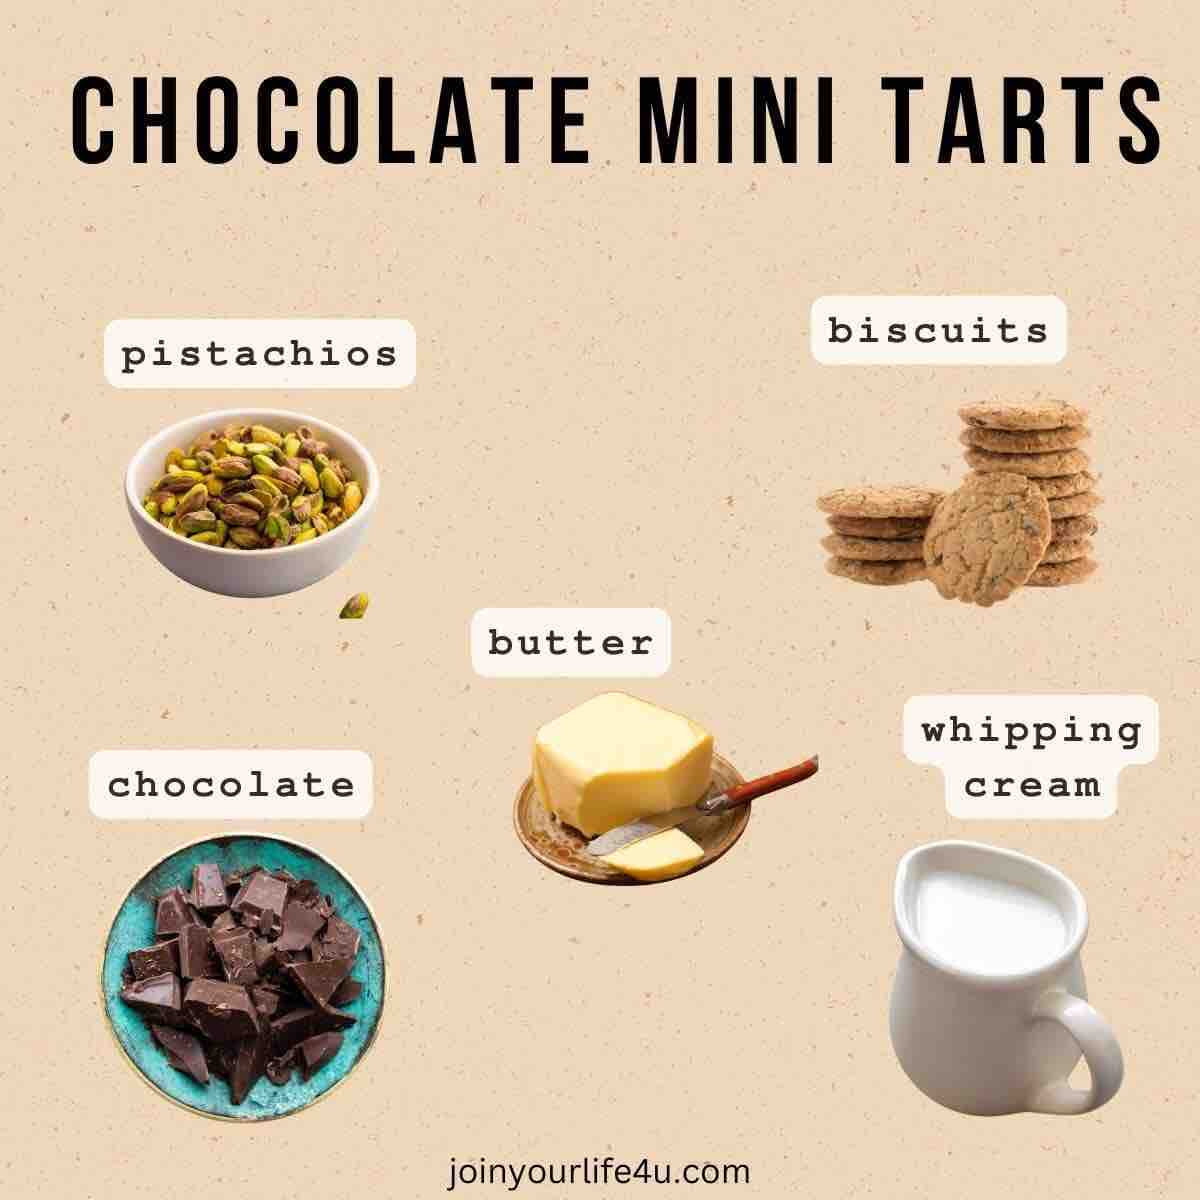
- Cookies: Caramel cookies add a sweet, slightly spiced base. Use what you have, but Biscoff is the MVP here.
- Nuts: Pistachios or hazelnuts give a bit of crunch—skip them if needed, but they’re worth including.
- Chocolate: Use high-quality dark chocolate or Nutella for a rich, smooth ganache.
- Whipping Cream: This creates the creamy consistency in the ganache—don’t substitute with milk.
- Butter: Adds richness to both the crust and the ganache.
How to Make Chocolate Mini Tarts
When I decided to make these mini tartlets, I couldn’t wait to dive in. Here’s how I did it, step-by-step. First, I grabbed my apron (or, honestly, just wore my favourite comfy clothes—because who needs stress, right?).
The beauty of this dessert? No baking is required! The process was so easy, I couldn’t help but think, “Why haven’t I made these sooner?” From the crunchy crust to the silky ganache, it all came together in no time. And trust me, it was worth the tiny effort!
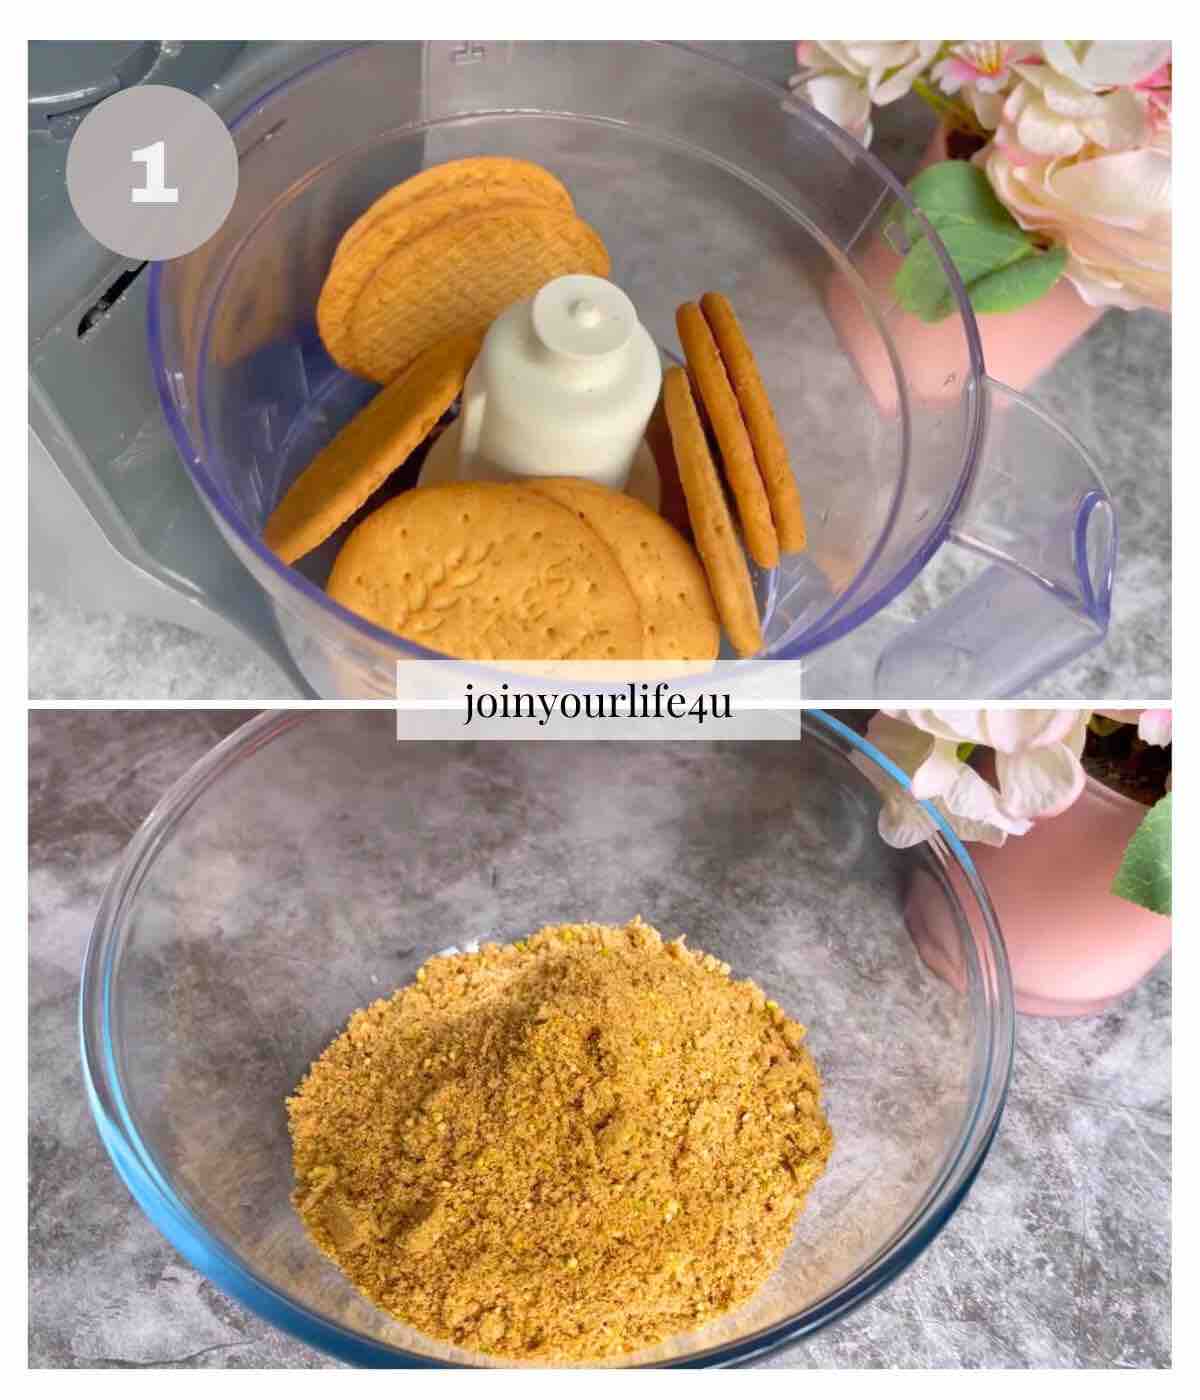
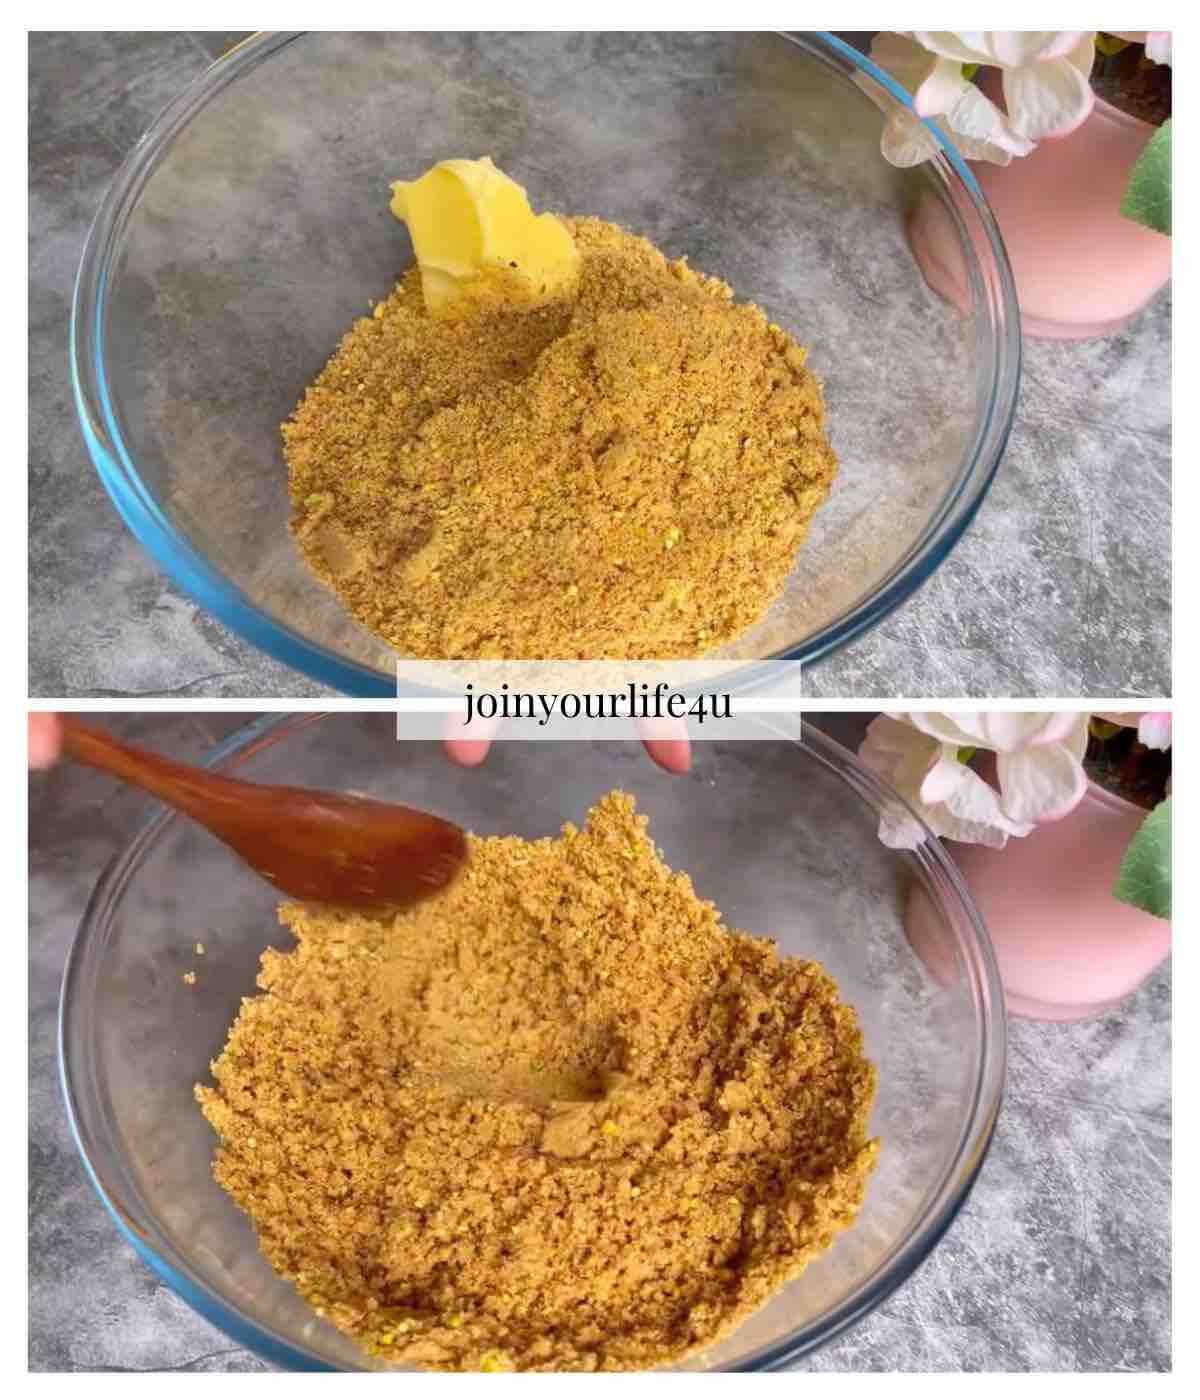
- Make the Crust: Toss the cookies and nuts into a food processor and blitz them into crumbs. I got distracted for a second and started mixing the butter with a spoon in a separate bowl, only to realize I could’ve just added it to the blender and saved myself the trouble. Learn from my misstep—blend it all until it clumps nicely!
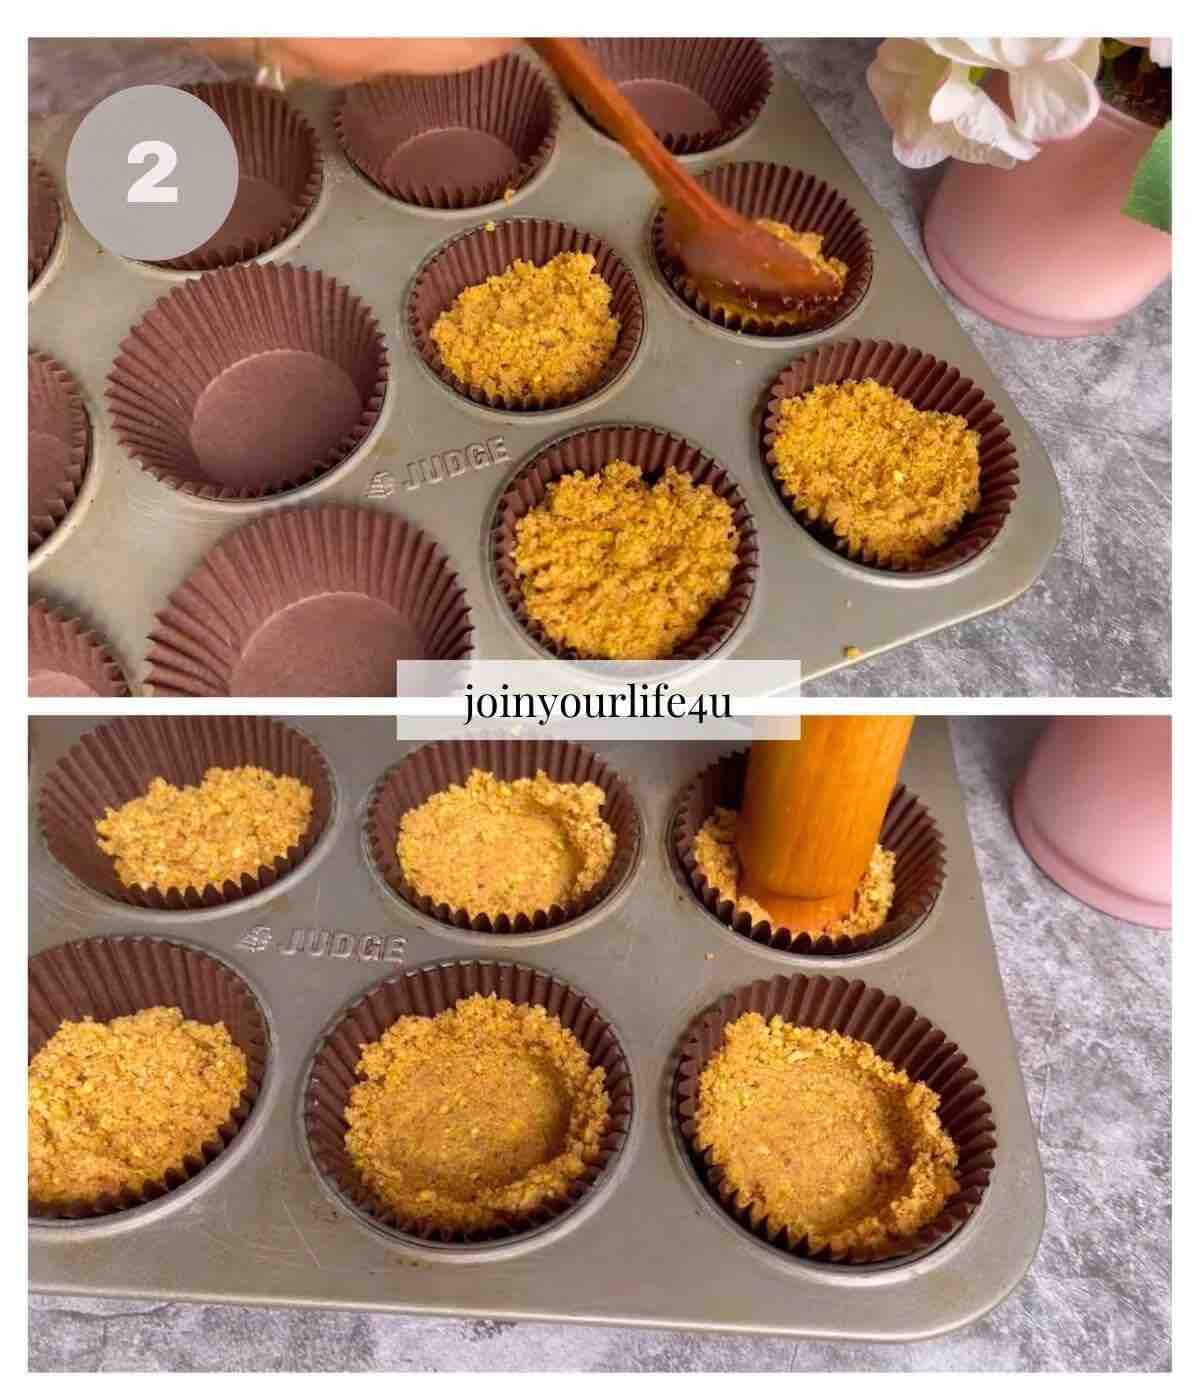
- Press Into the Pan: Scoop the crumb mixture into a tart pan or, if you’re making mini versions, into cupcake cases. Use your fingers or the back of a spoon to press it down firmly into an even layer. I always feel like a sculptor at this point, shaping the perfect crust! Once it’s nice and snug, pop it in the fridge to chill while you move on to the ganache magic.
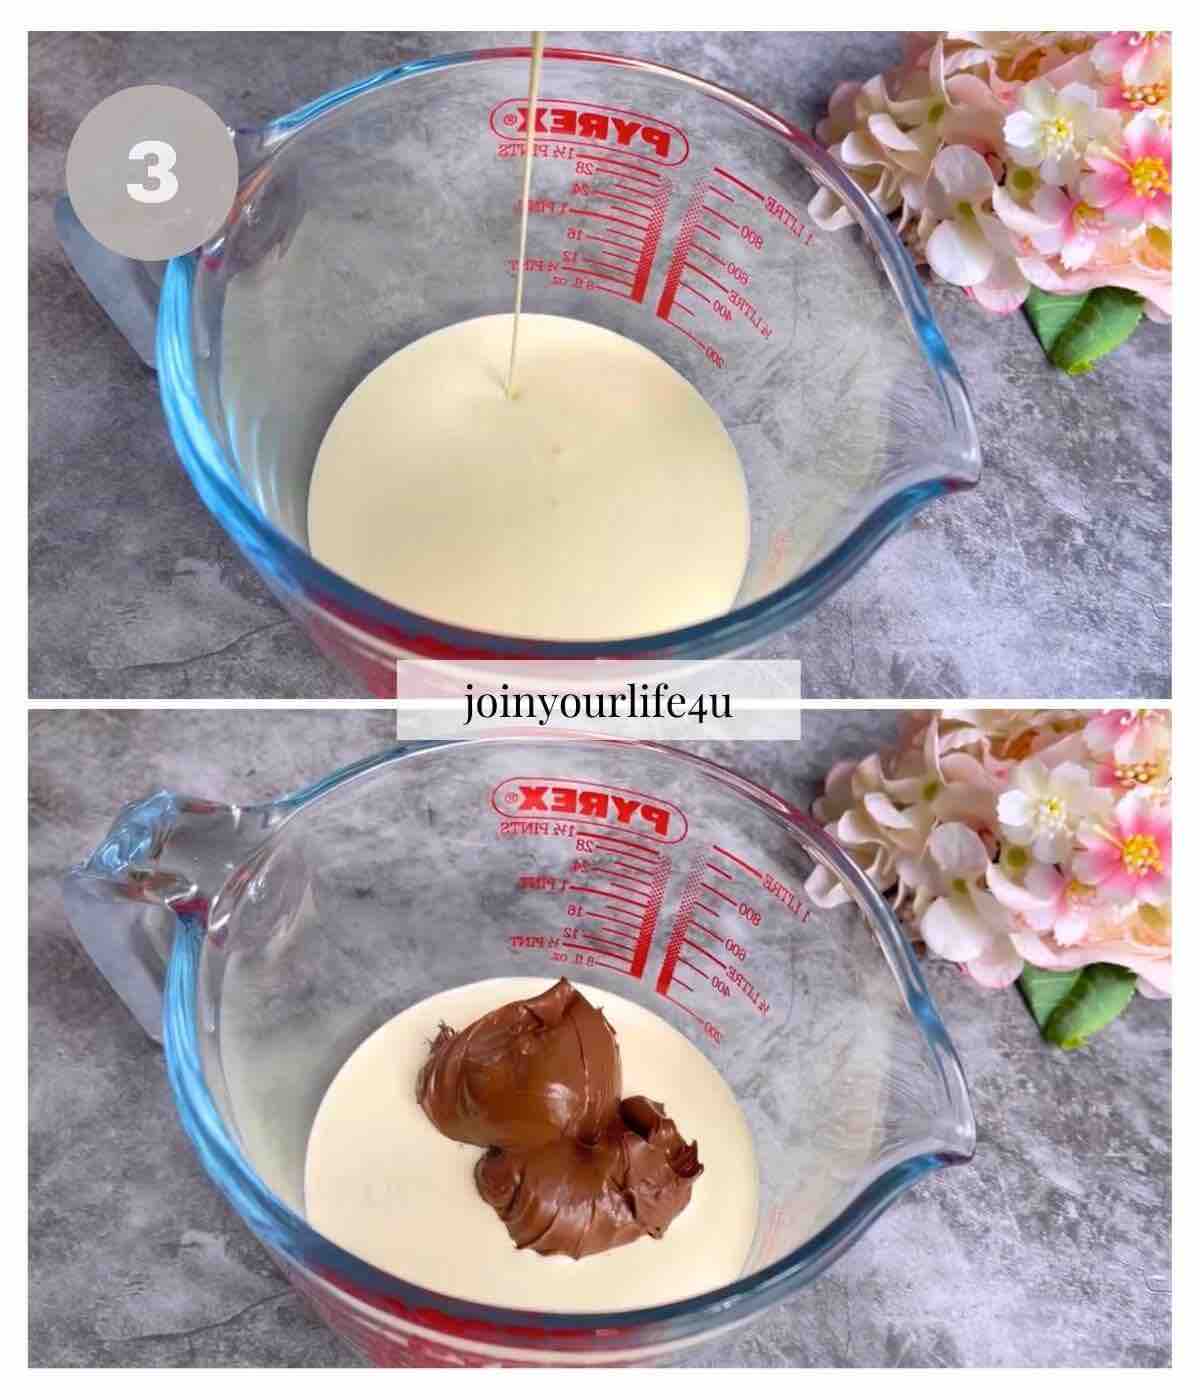
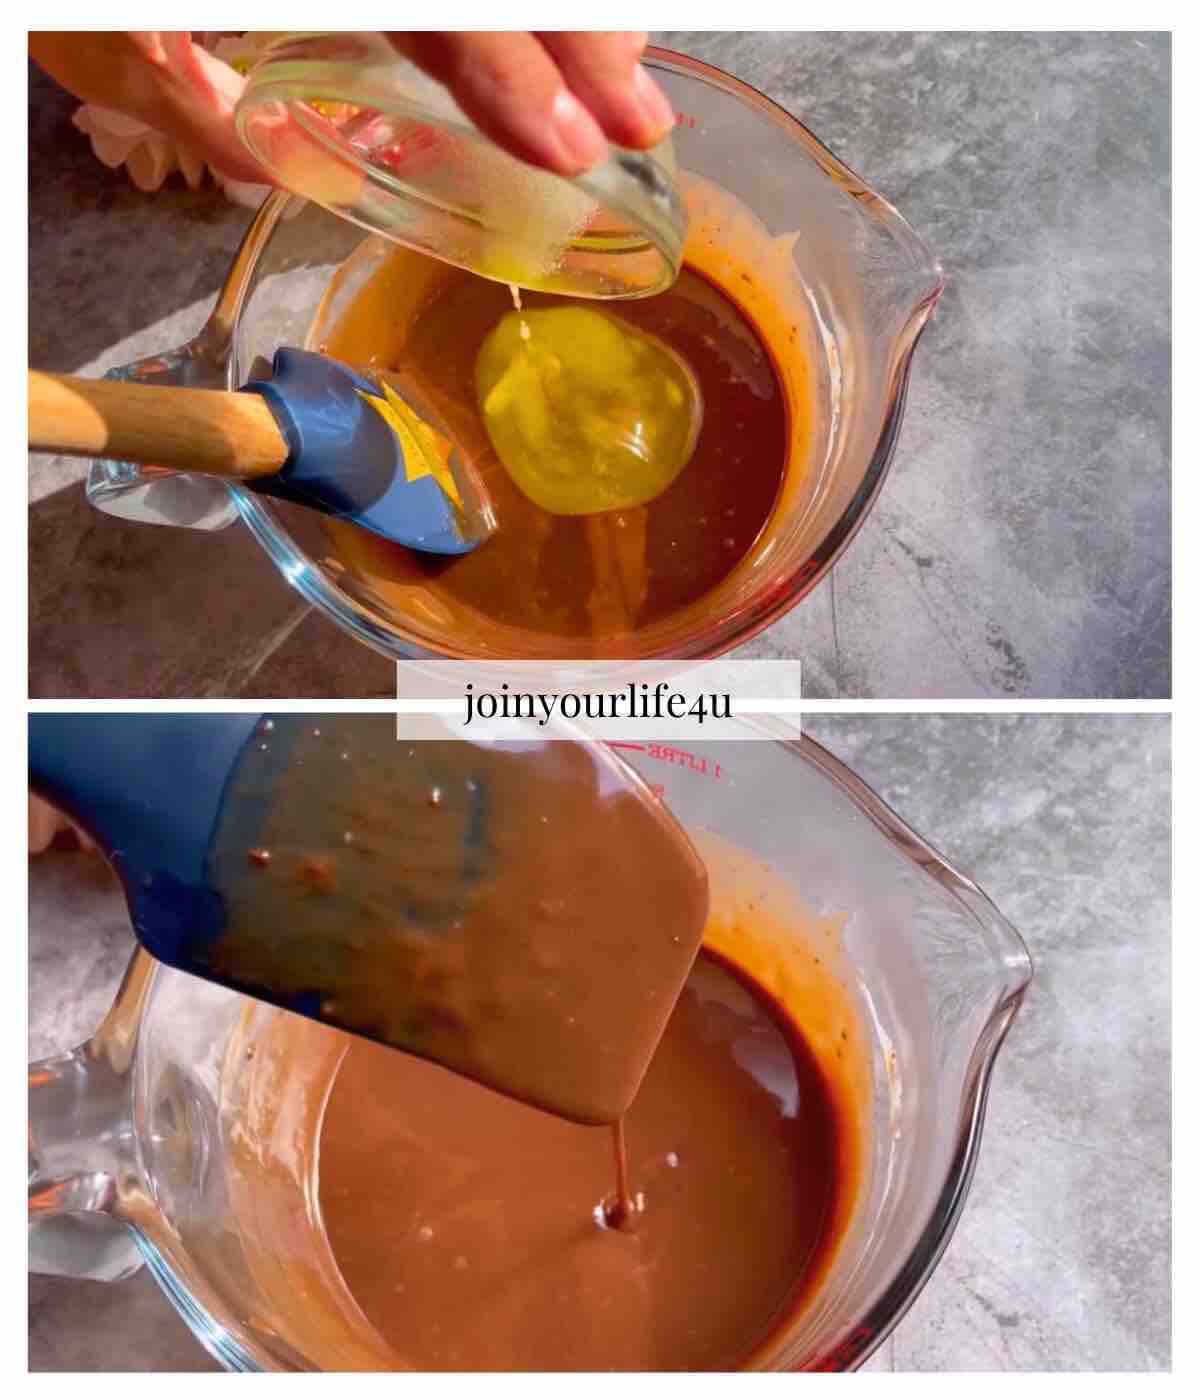
- Whip Up the Ganache: Heat the whipping cream in a small saucepan or microwave-safe bowl until it’s just hot (not boiling). Toss in the chopped chocolate (or Nutella, if you're going that route) and give it a good stir. Watching the chocolate melt and transform into a silky, smooth mixture feels almost magical—it’s a small kitchen moment I love. Finally, stir in the softened butter until it’s completely blended. It adds that extra creaminess.
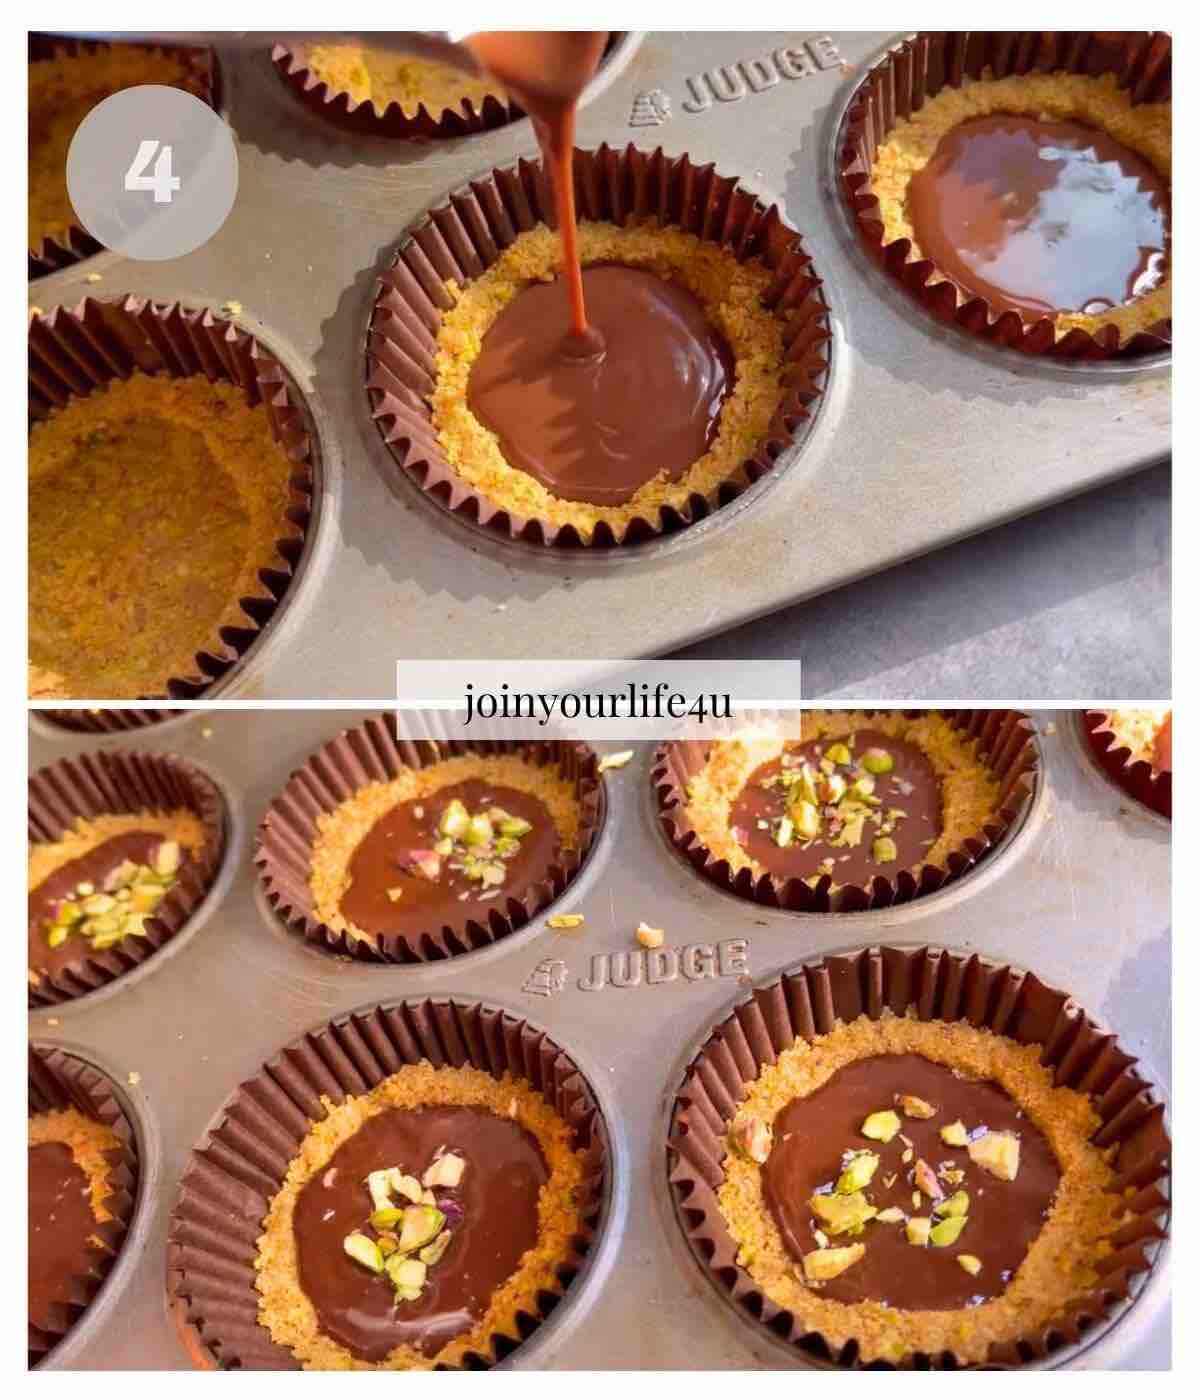
- Assemble the Tarts: Grab your chilled crust from the fridge and pour the luscious ganache over it. Smooth out the top with a spatula—it’s oddly satisfying! For a bit of crunch and colour, sprinkle some chopped nuts on top. I like using pistachios, but any nut works here. Pop the whole thing back in the fridge for at least two hours to set. Trust me, the wait is worth it!
- Serve and Enjoy Every Bite: Once your mini tarts are perfectly set, it’s time for the best part—digging in! Carefully slice the tart or pop out those bite-sized minis from their cases. Serve them chilled for the ultimate treat.
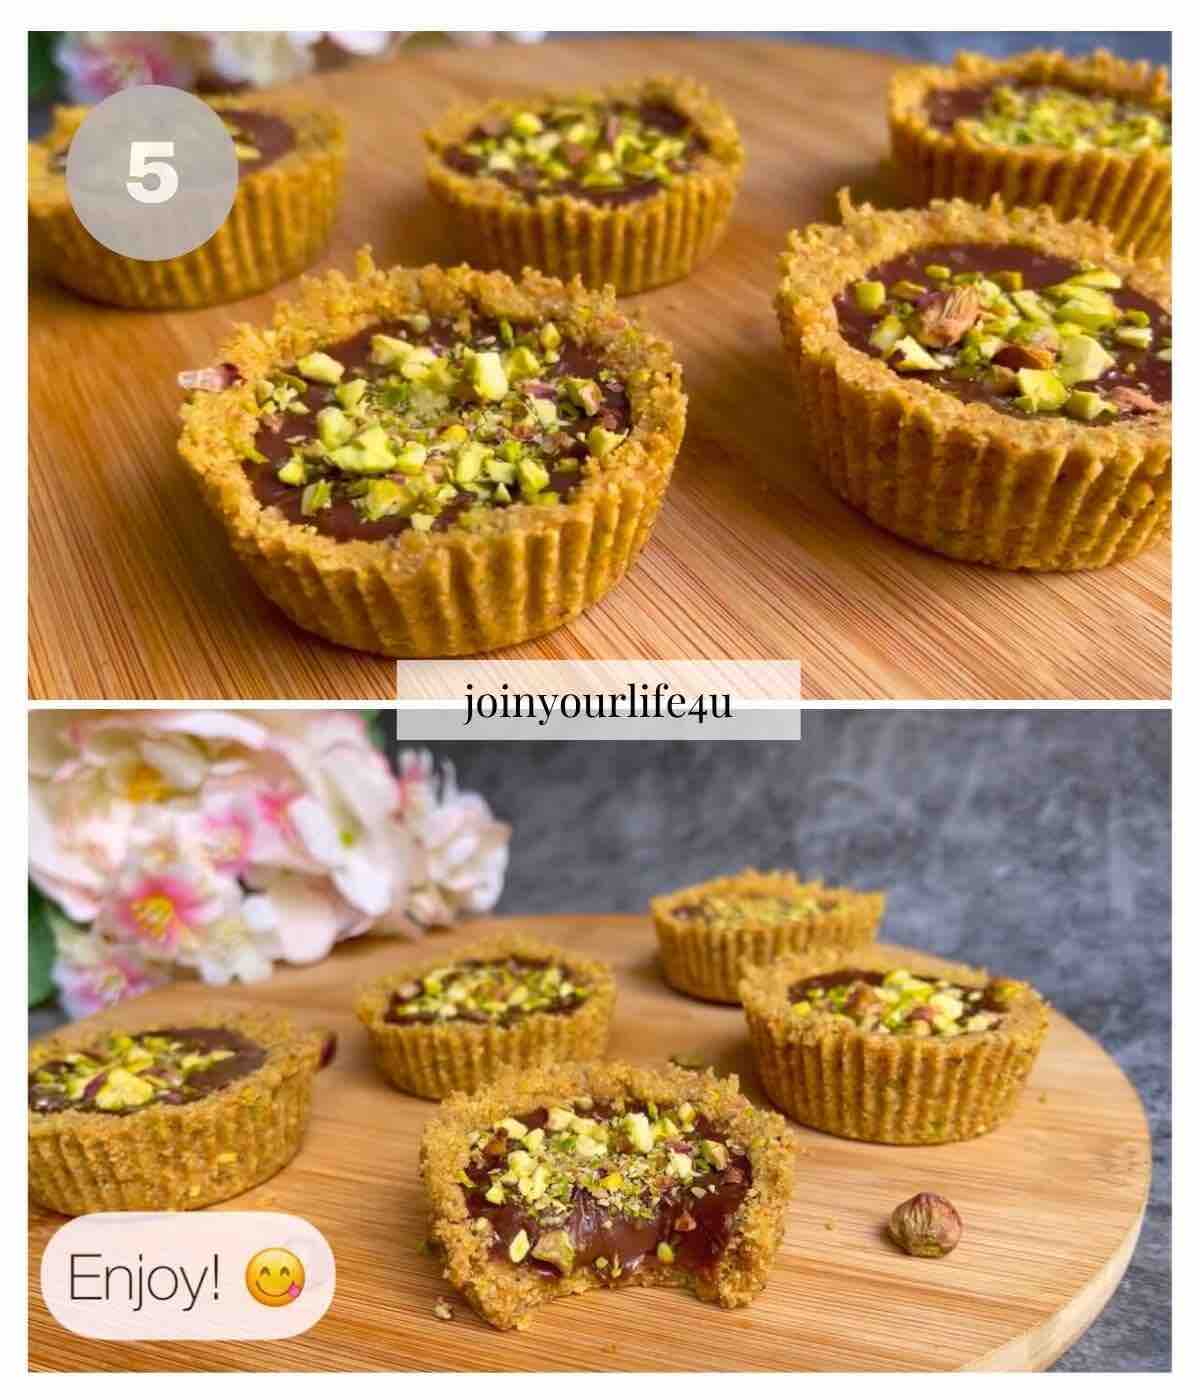
Watching everyone’s reactions as they taste the creamy chocolate ganache is priceless—it’s like all your effort pays off in that moment. Don’t be surprised if they vanish in minutes, leaving you wishing you’d made an extra batch! You may also like this No Bake Chocolate and Caramel Pudding, made in a similar way.
Substitutions
- Cookies: Graham crackers work as a substitute for caramel cookies.
- Nuts: Use almonds, and walnuts, or skip them entirely if you have allergies.
- Chocolate: Swap dark chocolate for milk chocolate if you prefer something sweeter.
Variations
- Topping Ideas: For extra flair, add fresh berries, a sprinkle of sea salt, or edible gold flakes.
- Flavoured Ganache: Add a splash of vanilla extract or espresso for a twist.
Storage Tips
Store these tarts in the fridge, covered, for up to 5 days. They’re best eaten cold. You can freeze them for a few weeks—just thaw them in the fridge before serving.
No-Bake Chocolate Tartlets FAQs
Serving Suggestions
Pair these tarts with fresh coffee, a scoop of vanilla ice cream, or a drizzle of caramel sauce. They also work beautifully on a dessert platter with fruit and other small bites.
Tips and Tricks
- Always chill the crust before adding the filling—this helps it hold together.
- Use room-temperature butter for the smoothest ganache.
- Clean the edges of the tart pan with a warm knife for a neat presentation.

More desserts you may love
- Rich Chocolate Berry Mousse Cake
- Berry Pancakes with Ganache and Berry Sauce
- Chocolate Chip Cookies
- Simple Recipe for Easy Crêpes with Raspberry and Chocolate Ganache Filling
- Nutella Whipped Cream Apple Cake
HUNGRY FOR MORE? Subscribe to my newsletter and follow along on Facebook, Pinterest and Instagram for all of the latest updates
PIN THIS RECIPE AND MAKE IT LATER




Claudia says
My family loved these easy chocolate mi tarts! They became a favourite very quickly!
Nora says
I like them best with pistachios, although they turned out very well with hazelnuts.
Juyali says
These were so easy to make. They’re perfectly sweet and so satisfying. I had to hold myself from not eating them all. LOL. 🙂
Agnieszka says
I made these tarts with my daughter today and they were super easy to make and turned out delicious! We are both chocolate lovers and these did not disappoint! We used Biscoff cookies.
Michele says
Given how easy these were to make, they looked very impressive!
Oscar says
I made these mini chocolate tartlets for a party, and they were gone in minutes! So simple, yet so decadent.